Search our website
Key in a search term below to search our website.
Key in a search term below to search our website.

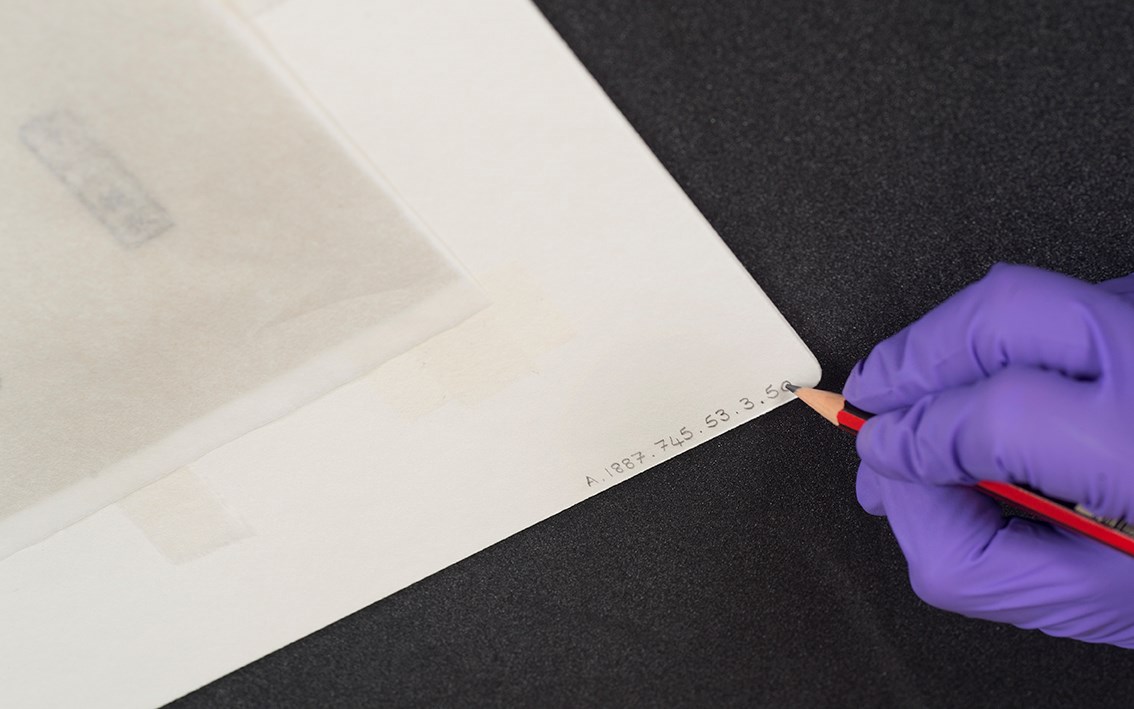
Wherever possible, label the mount or matboard around the paper object. Where a paper object is without mount or matboard, writing the label directly on the object is required.
First and foremost, it is important to secure the right tools for the job. Labelling most paper is best undertaken with a 2B pencil and quality white eraser. This allows a visible label that will also erase easily with no trace left behind.
In the video below, Collections Technician Kelly Rennie demonstrates how to apply a label using pencil.
Pros of labelling with pencil:
Cons of labelling with pencil:
These training pages are licensed for reuse under a Creative Commons Attribution-NonCommercial-ShareAlike 4.0 International License.
We are delighted for you to reuse, build on and publish the training content in these pages for non-commercial purposes. When you do, we ask that you credit National Museums Scotland and share the content under the same licensing terms.