Schools resources
Museum Maker: Make a champion’s rosette
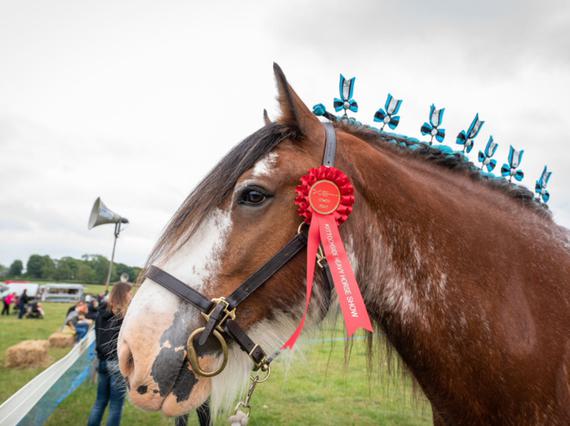
Celebrate the champions you know – family, friends or even pets - by making them a personalised rosette!
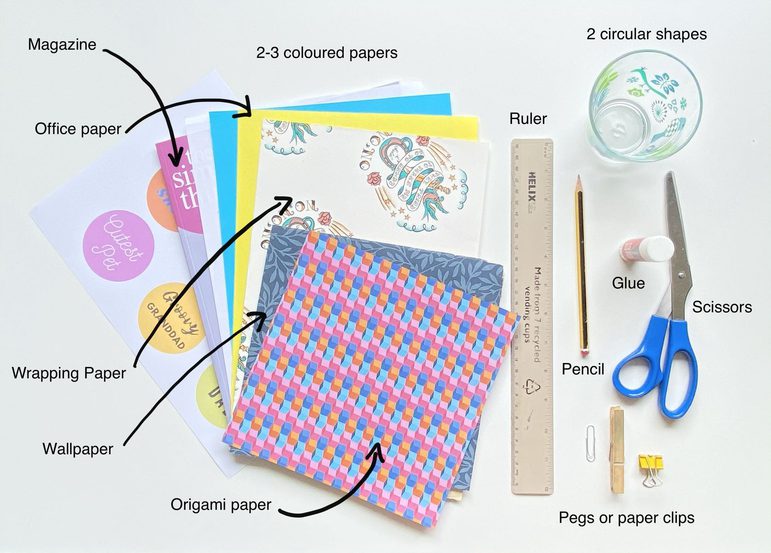
What you need
- 2 contrasting sheets of paper (coloured craft paper, wrapping paper, printer paper with patterns you add yourself)
- Pencil, ruler and age-appropriate scissors
- Glue
- Pegs or paper clips
- 2 circular things to draw around (slightly different sizes) – a drinking glass maybe
- A colour printer if you want to use one of our pre-designed rosette centres.
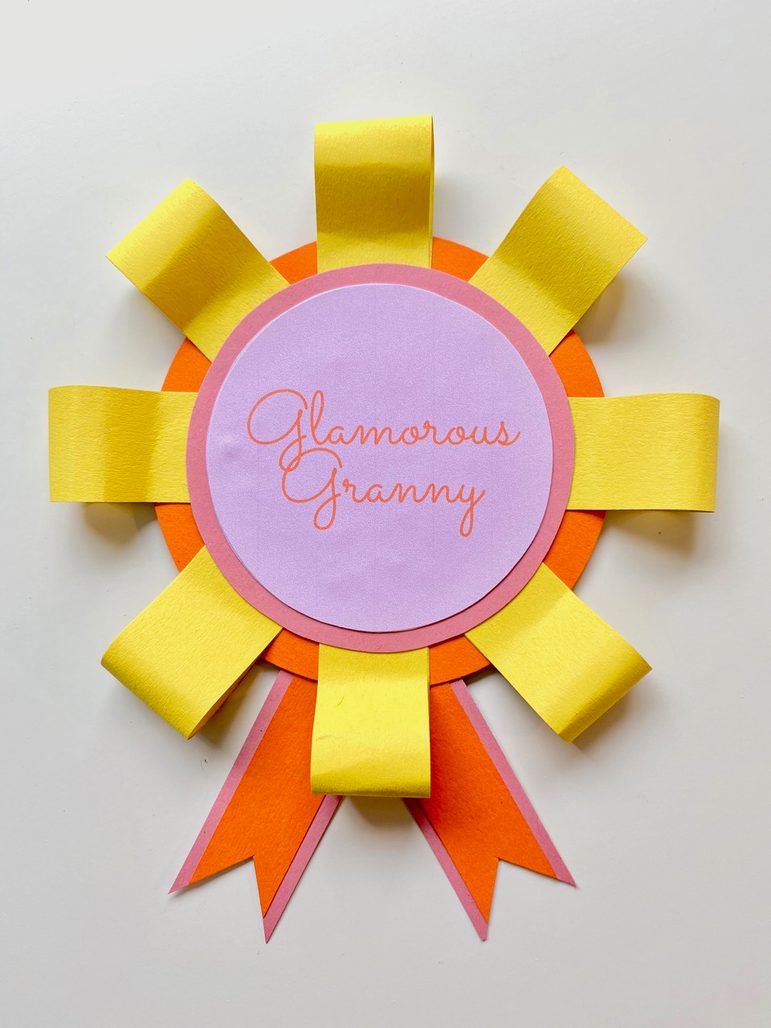
Option 1 - Easy rosette
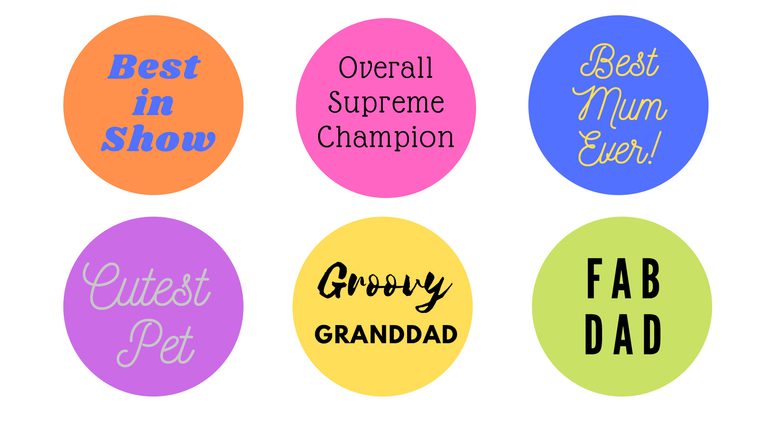
- Cut out your smaller circle, either from the printable designs (there are lots of text options or plain colours to choose from) or by drawing around something and adding your own award name.
- Using contrasting paper, make another circle slightly bigger than the first one.
- Use a ruler and pencil to create 10 rectangles:
- Make a mark 2cm in from the edge of your paper
- Make another 2cm mark further down the paper
- Line up your ruler with the pencil marks and draw a straight line
- Divide your 2cm strip into 7cm sections
- Using this method, create 10 of these 2cm x 7cm rectangles
- Set 2 strips aside for later and use the other 8 in step 4
- Add glue to the end of a strip. Bend the 2 ends of the strip around your fingertip, so they meet and stick together. Keep going until you have glued all 8 strips.
- Measure and cut out 2 more strips of a different colour. This time they need to be 1.5cm x 7cm. Glue the narrow strips onto the centre of the remaining wider strips. Cut 2 small triangles into the end of the strips to make your ribbon pieces.
- Glue the 8 loops around the edge of your larger circle – position them opposite each other like the points of a compass, then add one in each of the gaps. Check that your centre circle will cover up all the ends before you stick them down.
- Glue your small circle into the centre of your large circle.
- Finally, take the 2 ribbon pieces and glue the straight ends together at a slight angle to form a V-shape. Then glue the front of the ribbon piece to the back of the rosette, positioned at the bottom of your central design.
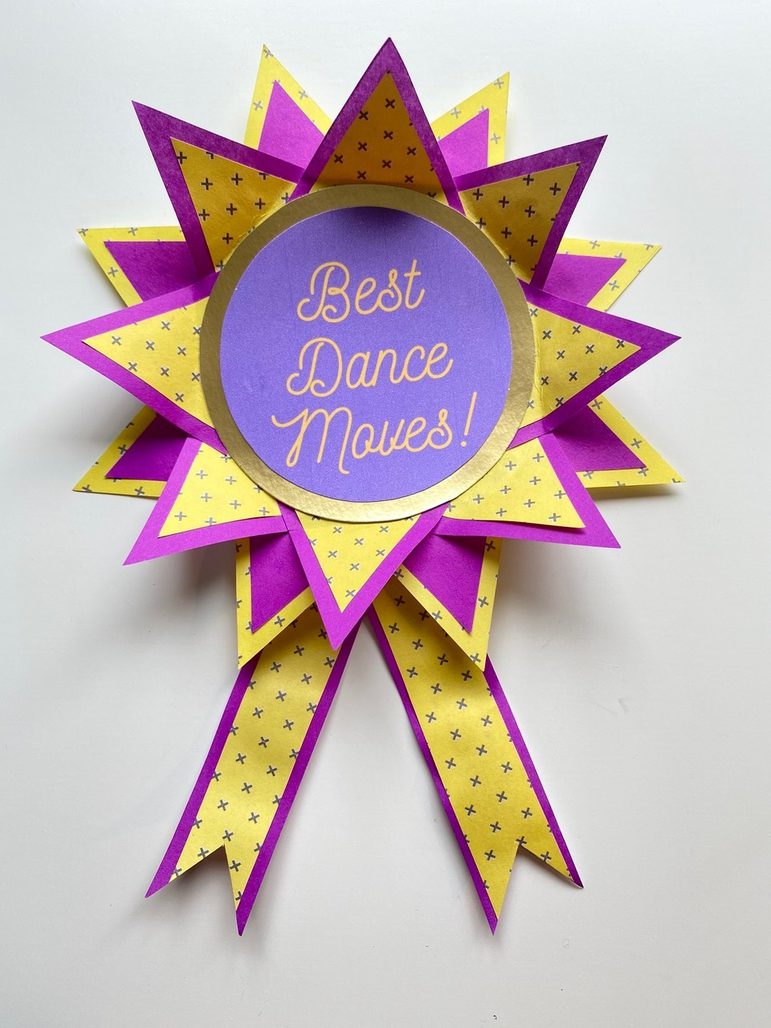
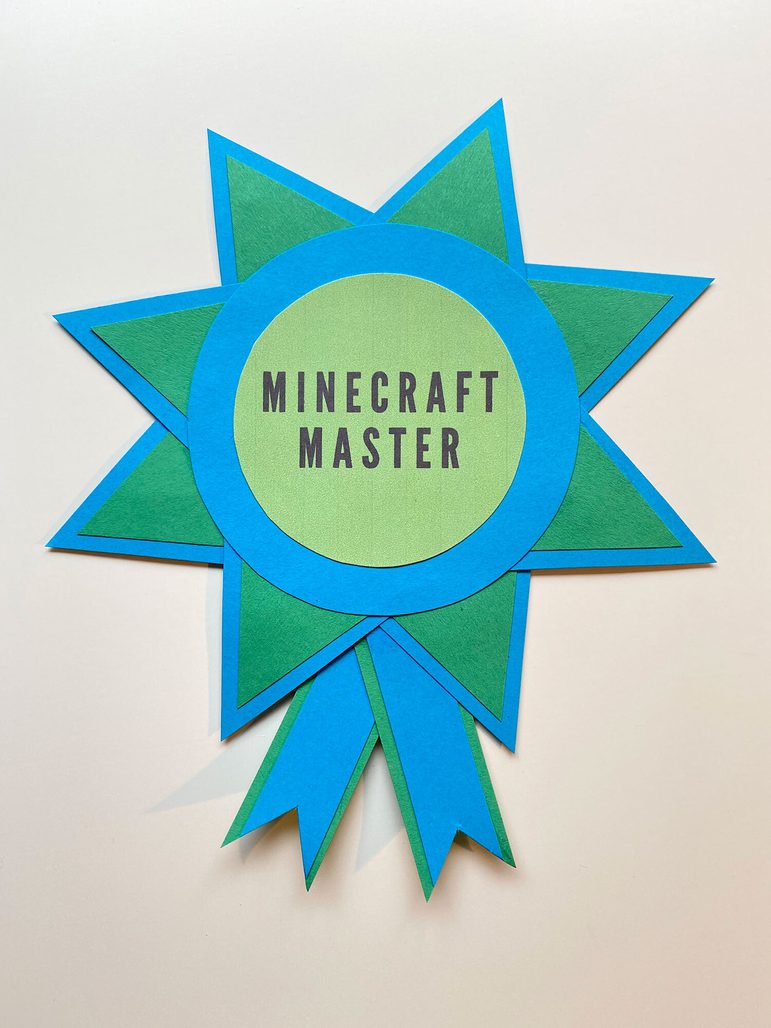
Option 2 - Intermediate rosette
There are two designs for this rosette, with either one or two layers of triangles around the rosette’s edge.
- Make the rosette circles using steps 1 & 2 of option 1, and the ribbon pieces using step 5.
- To make your triangles:
- Make two pencil marks 4cm in from the paper edge
- Line your ruler up with the marks and draw a straight line
- Make a mark every 4cm along your pencil line
- At the top edge of the paper, measure in 2cm from the same edge as before and make a mark
- Position the 0 on your ruler at the mark you just made then make a mark every 4cm along the edge of the paper
- Join up the pencil marks to create triangles and cut them out
- Create more triangles from a different colour of paper
- You’ll need a total of eight in each colour for the simpler design, and 16 in each colour for the 3D rosette
- For the simpler design, pair up triangles of contrasting colours and make sure they’re the same way round (one side of each triangle is shorter than the other two). Glue your triangles on top of each other, leaving a small border to show the contrasting colour beneath.
- Glue the completed triangles to the back of your large circle and then complete your rosette as in option 1.
- For the 3D design, pair 8 of your triangles up with one colour at the top and the other 8 with the colours the other way around. Stick the first layer around the edge, and then add the second layer in the gaps in between. Add the rosette centre and ribbons as in option 1. Once the glue has dried, fold the top layer of triangles up to make them stick up around the centre of the rosette.
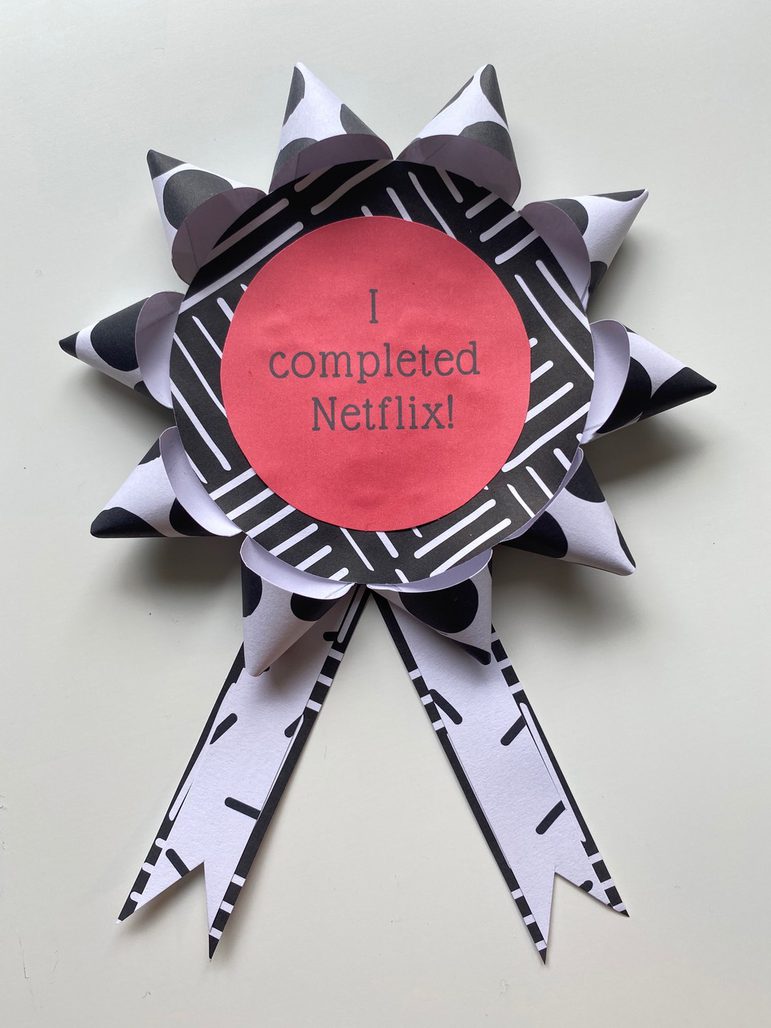
Option 3 – Advanced rosette
- Again, make the rosette circles using steps 1 & 2 from Option 1.
- This rosette uses strips of paper again. This time you’ll need 12 strips, each 2cm x 7cm (see option 1, step 3), 10 for the rosette and 2 for the ribbons. Make your ribbons as described in option 1.
- Using the remaining strips, curl the ends of each strip around so they overlap, then add glue to hold. If your glue doesn’t hold it straight away, you may need to use a peg or a paper clip to hold it together while it dries.
- Once the glue has dried, remove the pegs and glue the curls of paper to the back of your large circle, all around the edge. You may need to add more curls if your circle is bigger. Add the centre and ribbons as in option 1 to complete your rosette.
Once you’ve made your rosette, you just have to decide who is worthy of your special award!
Printable rosette centres
Select a colourful rosette centre to add to your creation. Choose the one you want then print off that page and cut it out.
Our family programming is supported by players of People's Postcode Lottery

You might also like
- Schools resource
Meet the Vikings digital session - accompanying resources
A range of themed learning resources and activities to accompany our digital sessions on the Vikings. - Schools resource

Museum Maker: How to make an owl badge
We’ve teamed up with upcycling experts Ostrero and artist Bryony Knox to create a design for a cool owl badge – made from a fizzy drinks can! Try it out today. - Schools resource
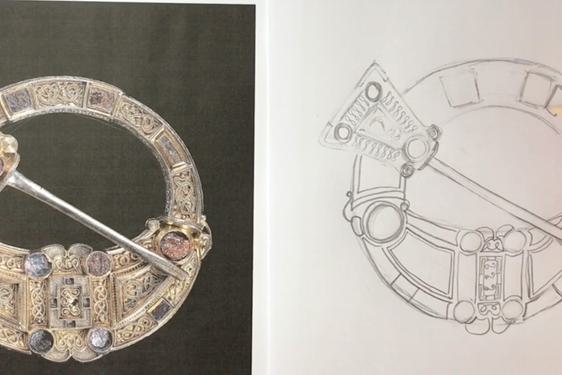
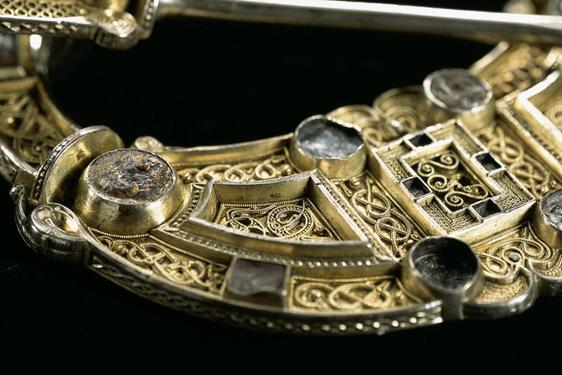
Museum Maker: How to draw the Hunterston brooch
Watch our video guide as artist Kayleigh McCallum shows you how to draw the Hunterston Brooch from our Scottish History and Archaeology collection.