Search our website
Key in a search term below to search our website.
Key in a search term below to search our website.

Our staff have shown us their #ShowYourWorking examples from their roles, so have a go at some of the activities below.
You can also share your own #ShowYourWorking examples with us on Twitter via @NMSEngage and @MathsWeekScot.

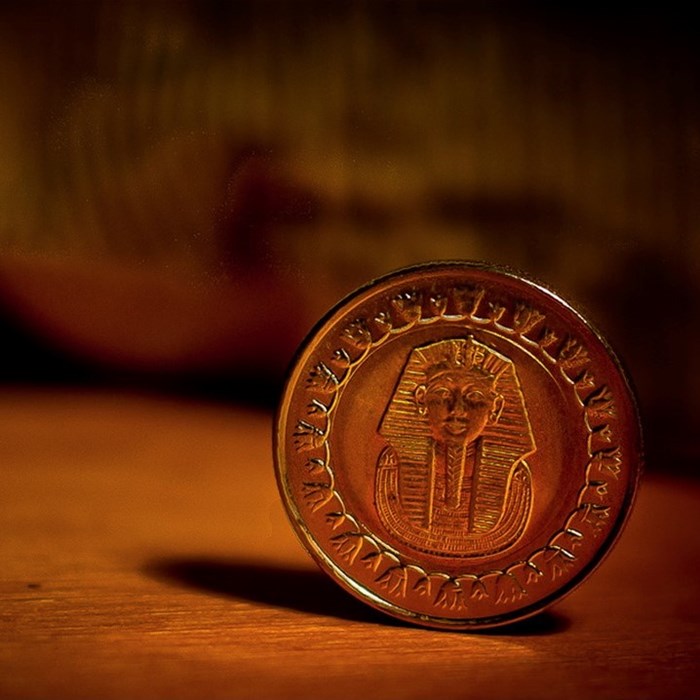
Dan helps to look after, share & research objects from the ancient world. His specialism is Egyptology, which includes reading hieroglyphs!
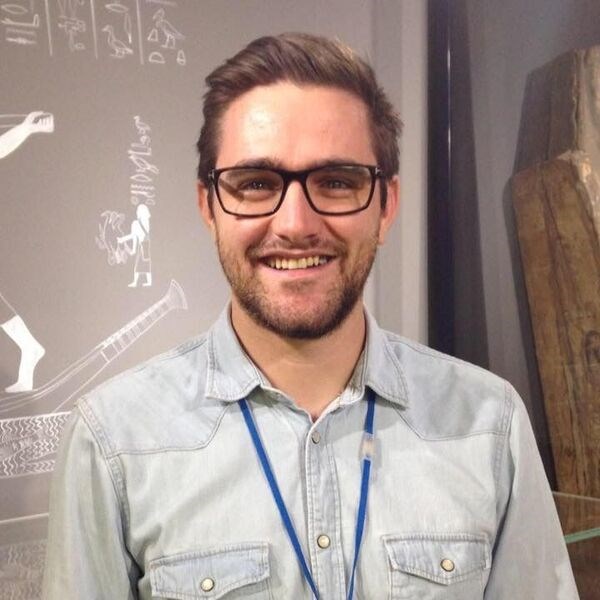
These activities are inspired by Dan's work here at the National Museum of Scotland. As part of his job he researches the history of objects, some of which were bought & sold in the antiquities market over a hundred years ago. Many different currencies were used, so it can be helpful to work out conversion rates & calculate their modern equivalents with inflation.
£1 GBP = 20 Fr
1/20 = 0.05
This is how much 1 Fr is worth in GBP
£0.05 = 1 Fr
To work out how much 335 Fr is worth in GBP
0.05 x 335 = 16.75
335 Fr = £16.75 GBP
Conversion rates: Decimalise the British Pound (e.g. 100p in £1). If £1 GBP was worth 20 French Francs (Fr), 1 ÷ 20 tells us how much 1 Franc was worth = £0.05. This can be multiplied with the Franc rate. To calculate the value of 355 Fr do the following 0.05 x 335 = £16.75
For inflation, we aim for an annual 2% increase, but this didn’t always happen. As the rate changes every year, calculations can be very complex. Helpfully, the Bank of England have a calculator to help. Sometimes asking the experts is the best method!
Go to the Bank of England Inflation calculator
Financial transactions that happened in the early 20th century can be hard to appreciate, especially when they are in £/s/d or French Francs which aren’t used today. Working out conversion rates or modern equivalents can help me understand & share the results of my research.
Using the above calculation, what would 475 Fr be in GBP?
My role is very varied, but recently I have been using maths to...
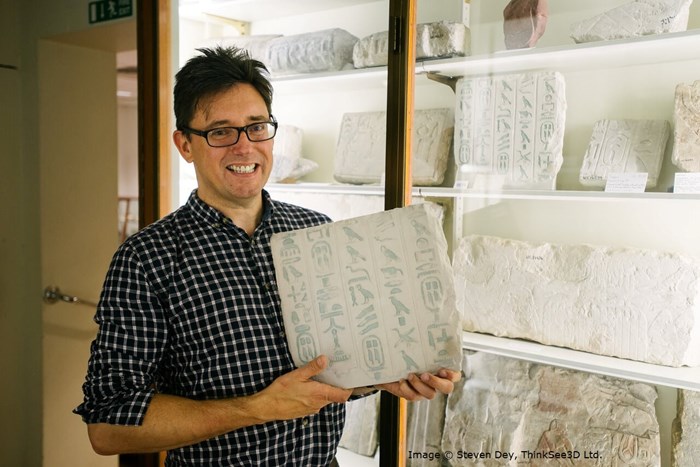
Founder and director of a company called ThinkSee3D Ltd. I develope and create 3D models, both digital and physical.
When creating 3D models;
3D Printing is the creation of a three-dimensional object from a digital 3D model or a CAD (Computer-Aided Design) model.
3D printing can broadly refer to several methods which create a physical object using computer control. This device can be programmed to deposit workable material (for example melted plastic) in flat, thin layers that join and gradually build up then harden.
The earlier stage of creating a digital 3D model requires maths to get the correct measurements of the original object. Many professionals use a scanner to collect information, this can also include details about the objects surface for example the texture and/or colour.
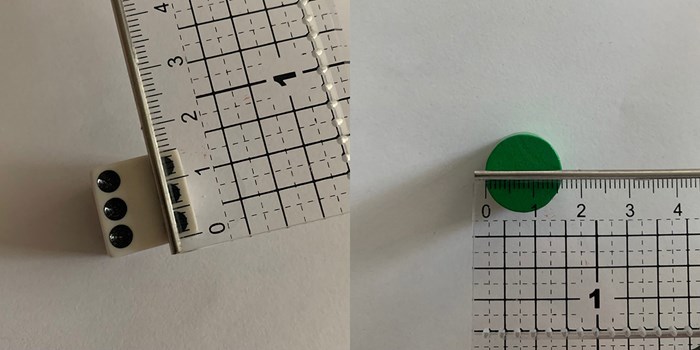
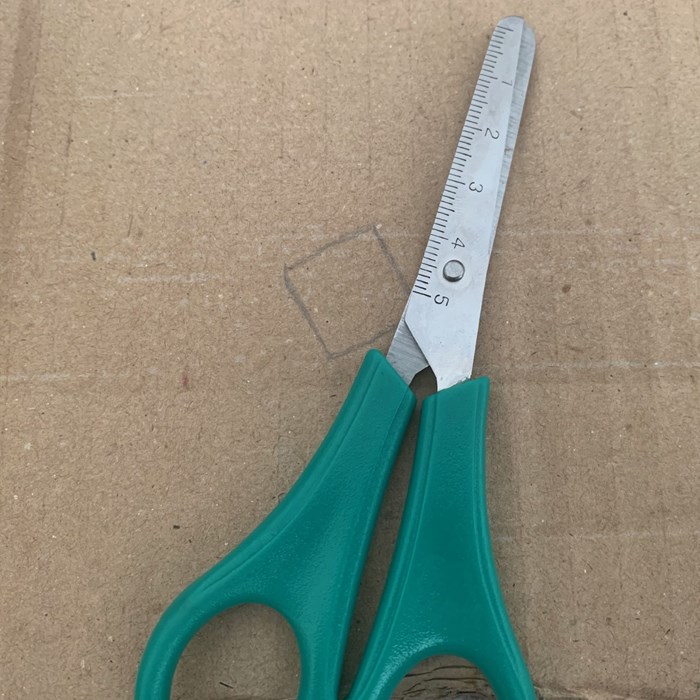
In this activity, we used mathematical tools, such as rulers and protractors, to gather information about the object we wanted to recreate as a 3-D model. We made a note of the object's length and width – for more advance models we calculated the circumference too.
Once we had all the information we required, we used cardboard to replicate the 3-D printer process. To finish, we used paper and colouring pens to add a render - a visual representation of what the surface looked like. If you would like to try out this activity, follow the steps below.

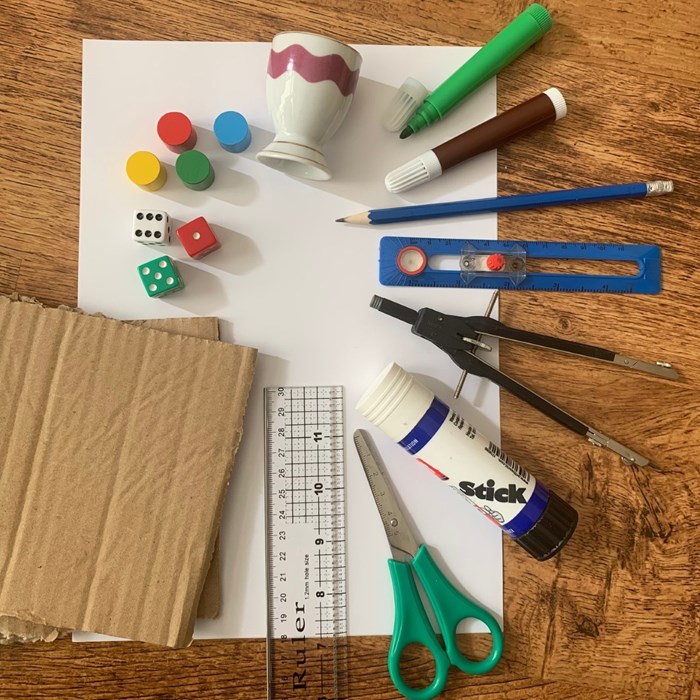
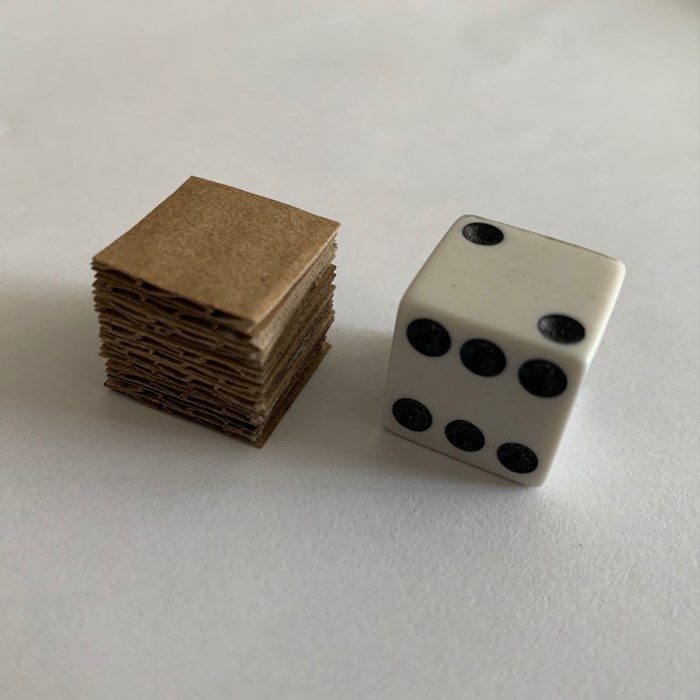
Objects – to start off we opted for game pieces such as dice and counters, for a more advance remake we chose an egg cup. *Remember, the larger the object the longer it will take to build!
Ruler and a compass – to measure and assist when drawing
Pencil – to take note of object measurements
Paper – to record measurements and to apply a surface render
Cardboard – to build our 3-D object in layers
Scissors – to cut the cardboard and paper
Glue – to stick together the layers of cardboard and the paper surface render
Pens – to add detail to the finished surface
Using the ruler, measure and take note of the object's length and width.
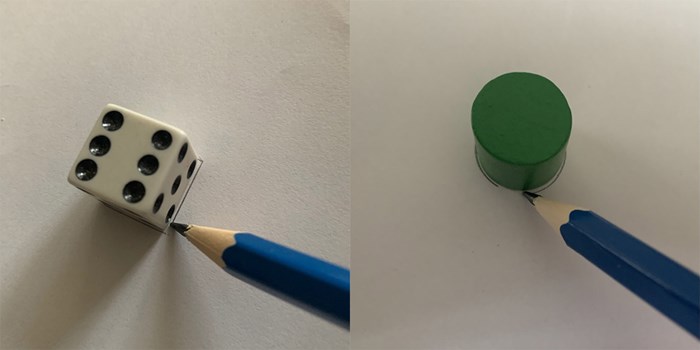
If the object is cylindrical, measure the diameter and half this to get the radius – you will need this information later when using the compass.
If this step is too advanced, simply trace around the object and create a template.
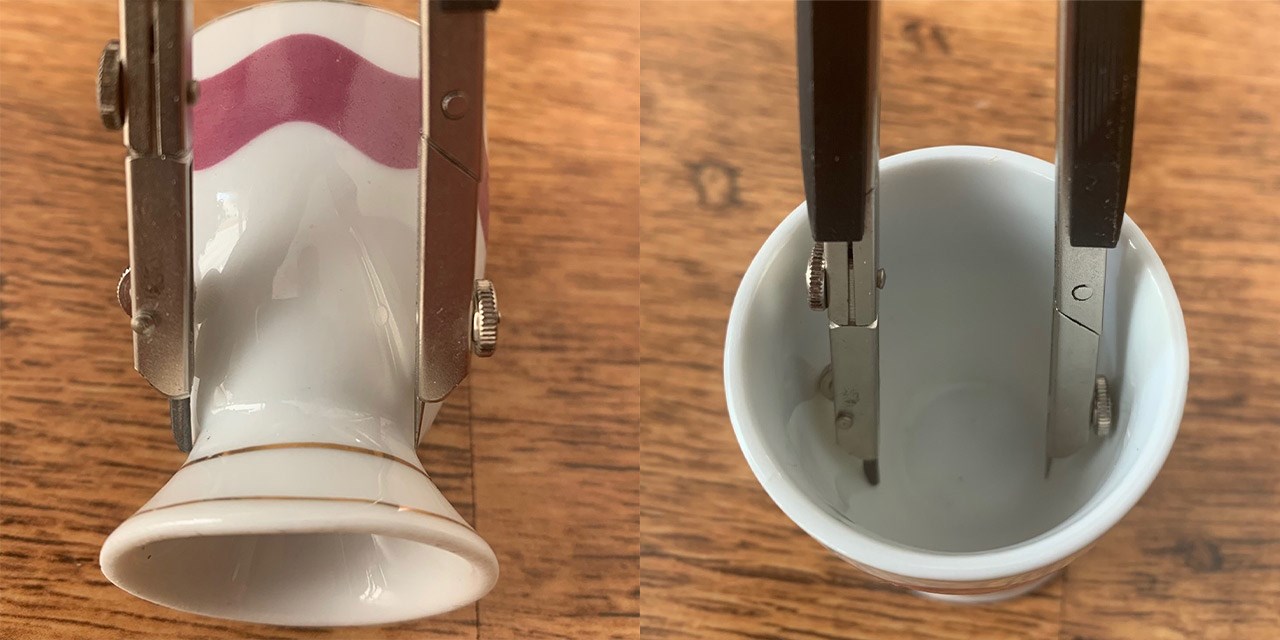
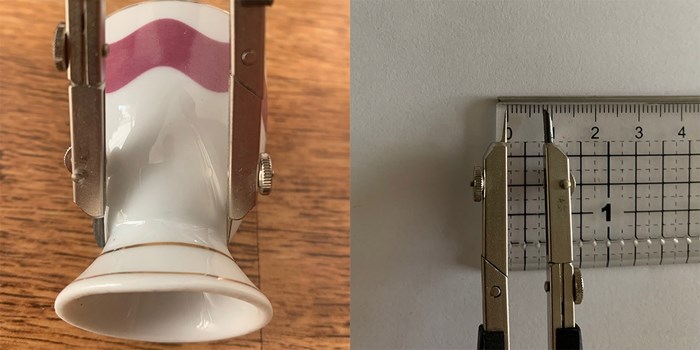
If completing a more advance build, such as an egg cup, use the compass to help you gather measurements in tricky areas.
Do this by placing the compass across the area you wish to measure and adjust the compass until it lines up with object’s edges. Then, place the compass next to the ruler to take note of the dimension it equates to.
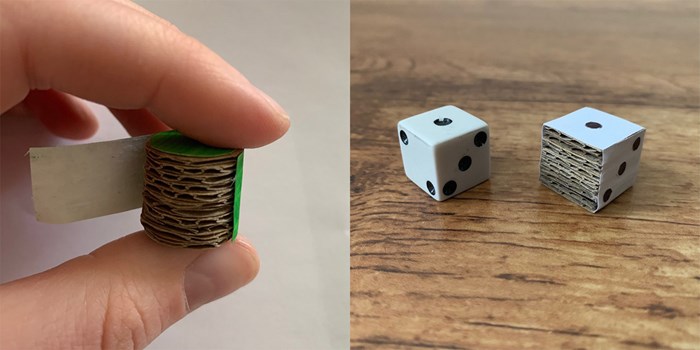
Draw out the shape serval times (enough to get you started) then carefully cut around the shapes.
Stack the cardboard shapes until it matches the objects height. When ready, glue all the cardboard layers together.
Render the surface of the cardboard. We did this by repeating Step 3 – using paper instead, then attached it to the 3-D cardboard model using glue. To finish, we used colouring pens to decorate the surface.
I work with the rock, mineral, and meteorite collection at the National Museum of Scotland. I analyse specimens in our lab to find out exactly what they are, where they are from, or how they formed.
I use scientific techniques to gather more information about the rocks and minerals we are researching.
Check out the video where I explain more about the process X-ray Diffraction and the equation Bragg's Law. together, this can help us to identify minerals!

This experiment is inspired by Bob’s #ShowYourWorking example which focuses on X-ray Diffraction.
X-rays are powerful waves of energy called radiation. Light, heat and sound are all forms of radiation; energy that can move from one place to another. But unlike x-rays, light can’t pass through objects e.g. suitcases.
For this experiment, we are going to use light as a visual representation of x-rays diffracting, or bouncing, off our mineral substitute – a mirror.

What you will need:
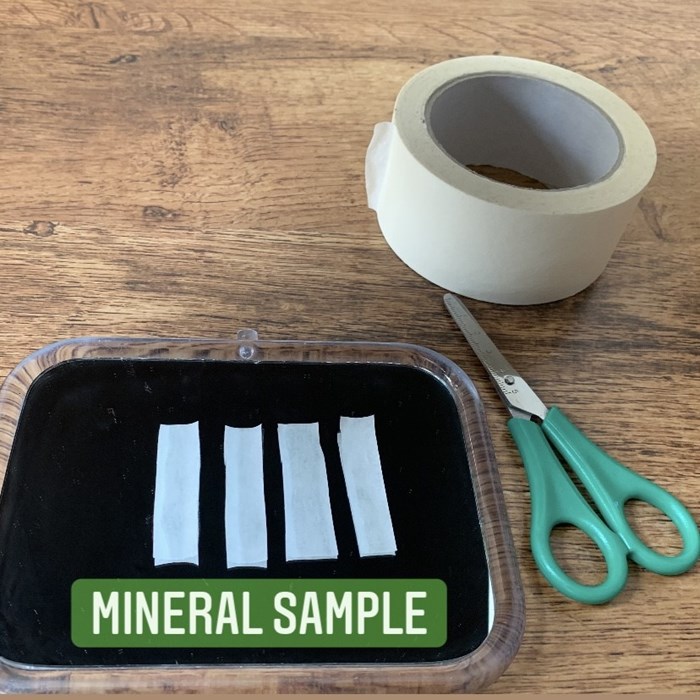
Using masking tape and scissors, create a unique pattern. This represents the spacing of atoms which are unique to every mineral. Remember, this pattern would not be visible to the naked eye, this arrangement is of the mineral structure. X-rays can pass through this, but light rays can’t which is why we are applying it to the surface.
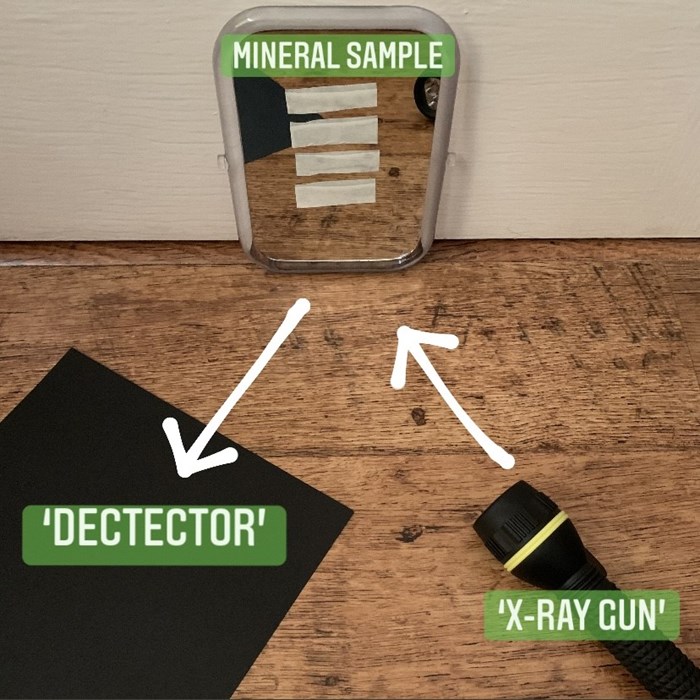
To replicate the XRD machine, as seen in Bob’s video, organise the components in to a triangular arrangement.
When in use, ensure the ‘x-ray gun’ and ‘detector’ move in a symmetrical arc, keeping an equal distance.

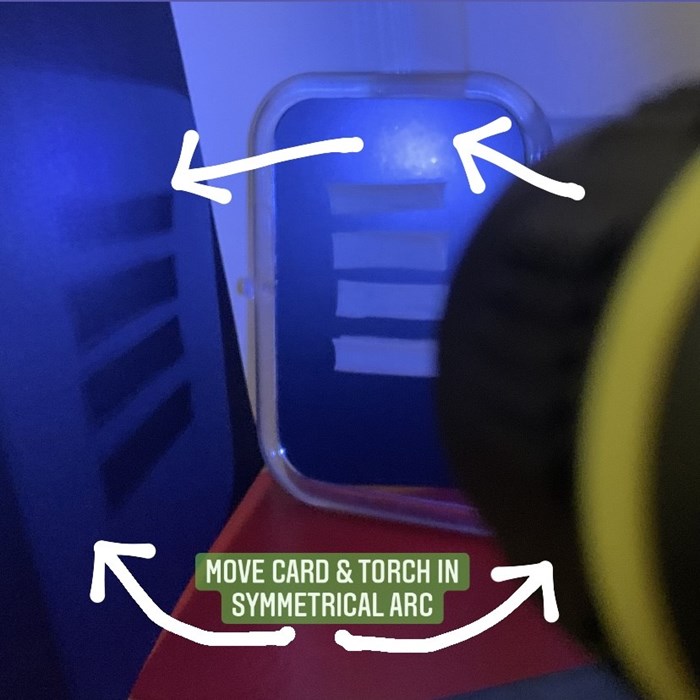
*It is now time to conduct the experiment, dim the lights and/or close the curtains to ensure the light rays will be visible.
*We would recommend this activity is carried out in small groups of 2+ people as angling all the components can be tricky. We used books to prop up the mirror (mineral sample) in order to photograph the result, however, it may be easier to conduct this experiment with the mirror (mineral sample) lying flat on a table. In this case, invert the triangular arrangement so the torch (x-ray gun) and card (detector) move in a symmetrical arc above.
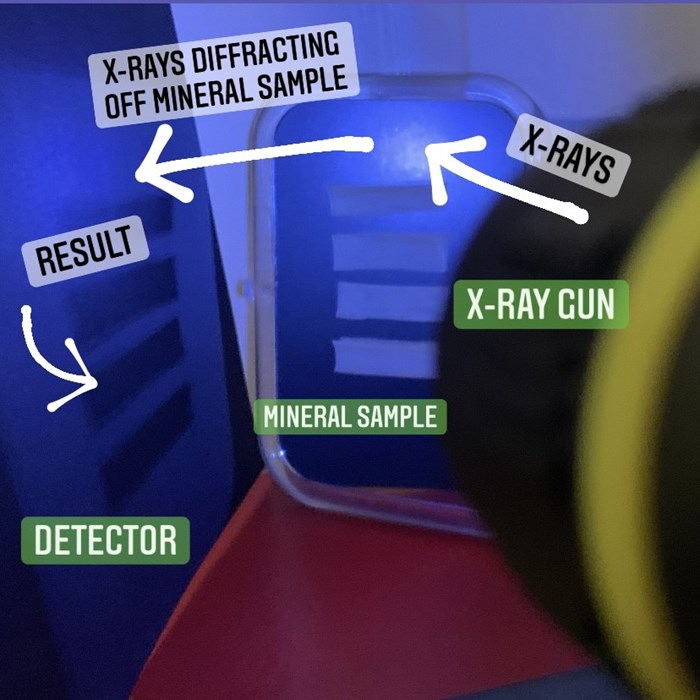
The unique pattern shown on the card (detector) is a representation of the light (x-rays) which were able to diffract (bounce) across the mirror (mineral sample). The result shows the unique arrangement of the mineral atoms (masking tape pattern on the mirror).