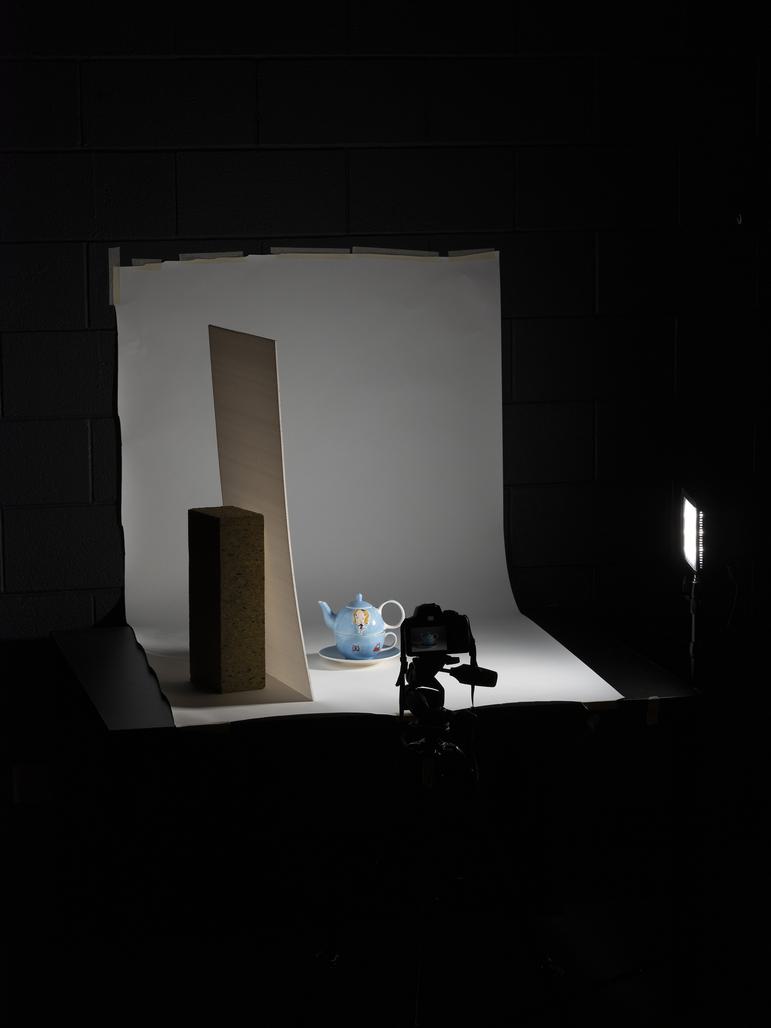
Lighting, composition, and colour balance
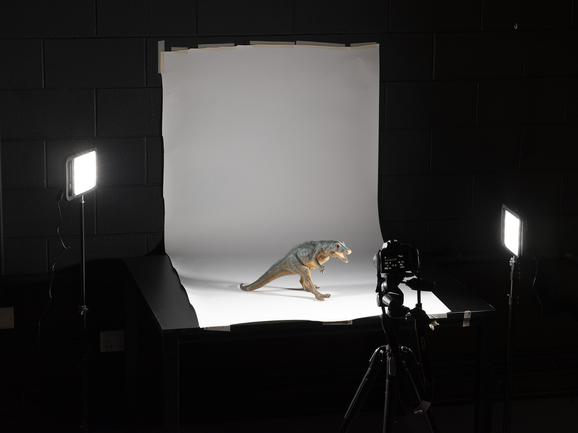
Additional light source
Adding a light source will improve your images. Below are some suggestions on how to use light, depending on the budget available to purchase equipment.
LED (daylight balanced) light panels are relatively inexpensive and produce a lot of light. They can be used as a single light with a reflector or as a pair.
When using LED light, turn off overhead lights in the area to reduce the risk of light mixing and maintain good colour balance.
Single light and a reflector
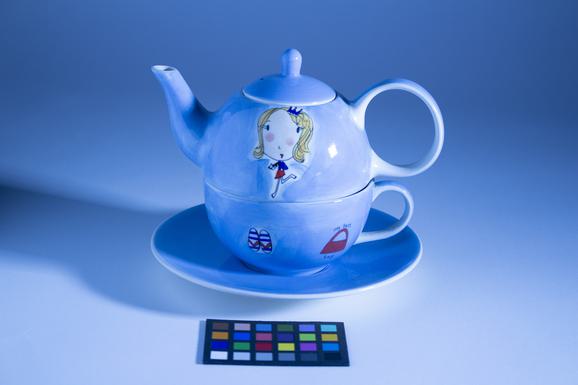
Shadows are an effective way of bringing out detail or communicating the form of an object. If your object is curved, a shadow will allow you so see the curvature in your image instead of a flat shape. It is important, however, that you are still able to see all the details clearly in the shadowed area. If you do not have a photography reflector, use a sheet of clean white card. Do not use card that is yellowed or dirty as this will reflect a colour cast onto your object.
With this method we are lighting both sides of the object with a single light source. The light that is bouncing off the reflector is not as strong as the light hitting the object directly. This is enough to make detail in the shadow clearly visible without eliminating the shadow.
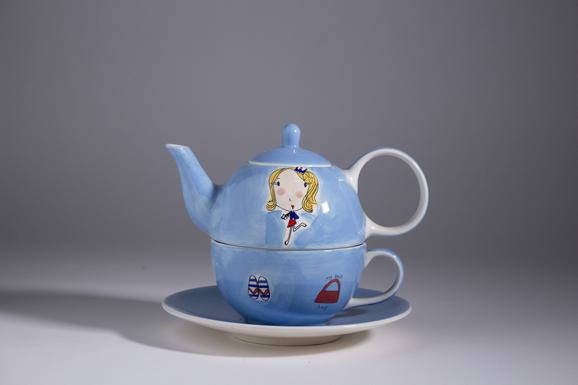
The addition of a reflector or white card reduces the shadow on the opposite side of the object, creating an evenly lit image.
This can also be achieved with a second light in place of the reflector or even with a window as your light source.
Picking out fine detail and texture
By changing the angle of the light, we can pick out finer details. The key to this technique is to skim the light over the surface of an object (raking light). This will exaggerate shadows in the crevices. Experiment with raising and lowering the angle of the light until you can see all the details. This technique works particularly well for carved or inscribed surfaces.
If the shadows are too dark and you can no longer see detail, add a reflector or sheet of white card opposite the light. Be careful not to lighten the shadows too much or you will no longer be able to clearly see the detail of the texture. Experiment by moving the reflector closer and further away from your object to find the right balance.

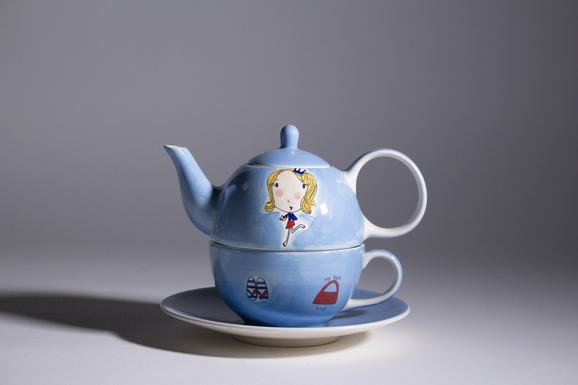
Picking out texture is important with coins. This example has been lit with two lights at a 45° angle. The light is cancelling out most of the shadow, making it more difficult to see detail.
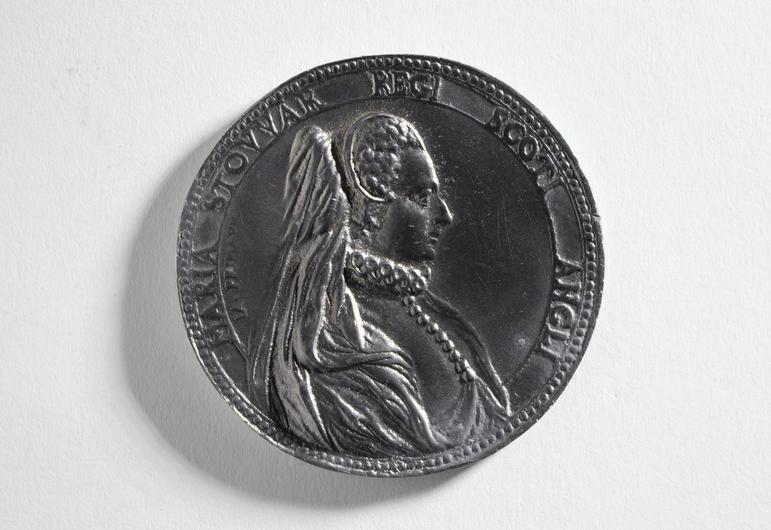
By using only one light at a low angle we are creating shadows and highlights in the texture. This is making the detail much more visible. The shadows in this image are a little dark and we risk losing information in these areas.

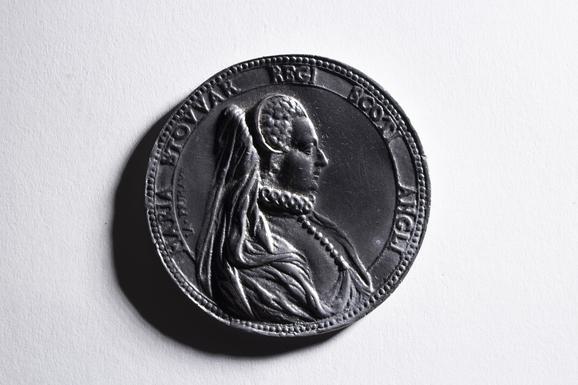
The addition of a reflector has lightened the dark shadow areas without cancelling out the texture we have created.
Two lights
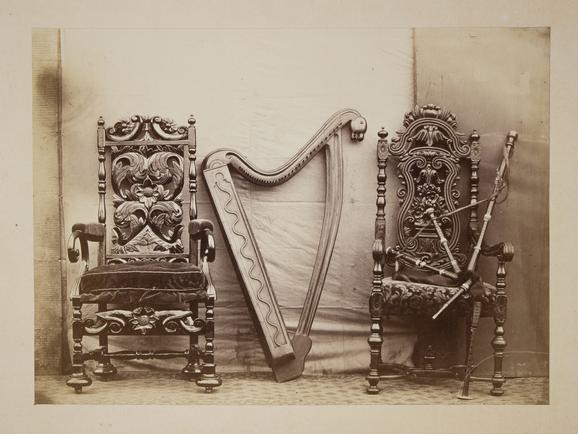
Some objects require flat, even lighting with no visible texture or shadows. Paper is often photographed in this way such as manuscripts, photographs, prints and art.
To create even lighting you need two lights of equal power. They should be placed equidistant from the object at a 45° angle. This allows one light to cancel out any shadow created by the other.

Window light
If you are unable to use an additional light source, window light can be used to create a similar effect. Set up your background side-on to a window and use a reflector on the opposite side to bounce light back onto the object. Do not use direct sunlight; diffuse the light through a white blind if necessary or photograph at a different time of day. Keep in mind the suitability of the object when photographing in daylight. You may wish to consult a Conservator on whether it is appropriate to photograph an object in this way.
Colour balance
It is important that the colours in your photograph are an accurate representation of the colours of your object. To achieve this, you have to make sure that your image is colour balanced.
There are different ways to colour balance your image, starting with your camera’s settings. You will have to refer to the user manual to learn how to change your camera's settings as this varies according to model.
Most cameras will have colour balance pre-sets as well automatic and manual colour balance settings. If you wish to do manual colour balance you will have to take a photograph of a grey card or colour checker and follow the instruction in your user manual.
Note: This will only work if you are using manual setting. If you are using automatic settings for exposure, skip this part.
The pre-set options normally consist of daylight, incandescent and fluorescent. Select the option that suits your lighting or select automatic white balance. These settings will add a coloured filter to your image to cancel out any unwanted tones, for example, incandescent light is orange so the camera will add a layer of its opposite colour (blue) to cancel out the colour cast. This means if you take a photograph in daylight, which is white light, with an incandescent colour balance setting, the image will appear blue.

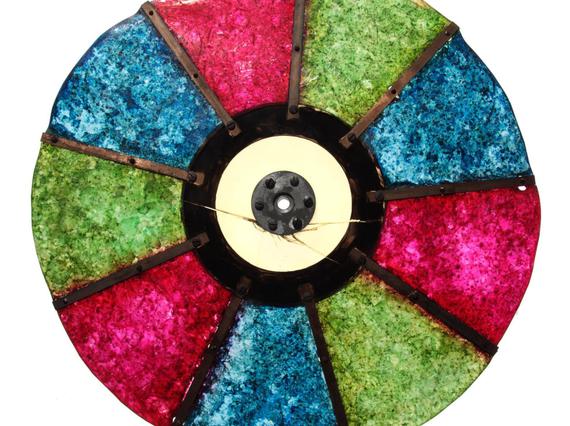
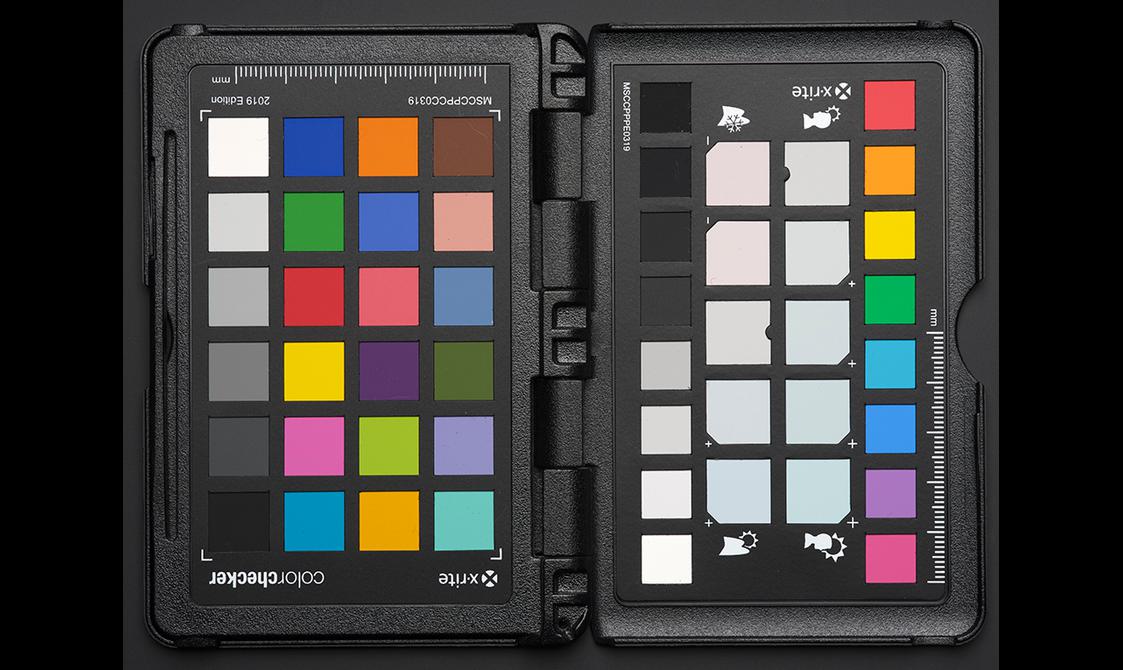
Photographing a grey card/colour checker
The purpose of grey cards and colour checkers is to give your camera or editing software a reference point to calibrate the colours within an image. By telling the camera or software that this area is a neutral grey of a specific value, it will apply a correction. This will align all the colours in your image to their true colour. These can be bought at camera supply stores and range in price. Cheaper colour checkers will produce a fairly good colour correction; however, more expensive brands are more accurate.
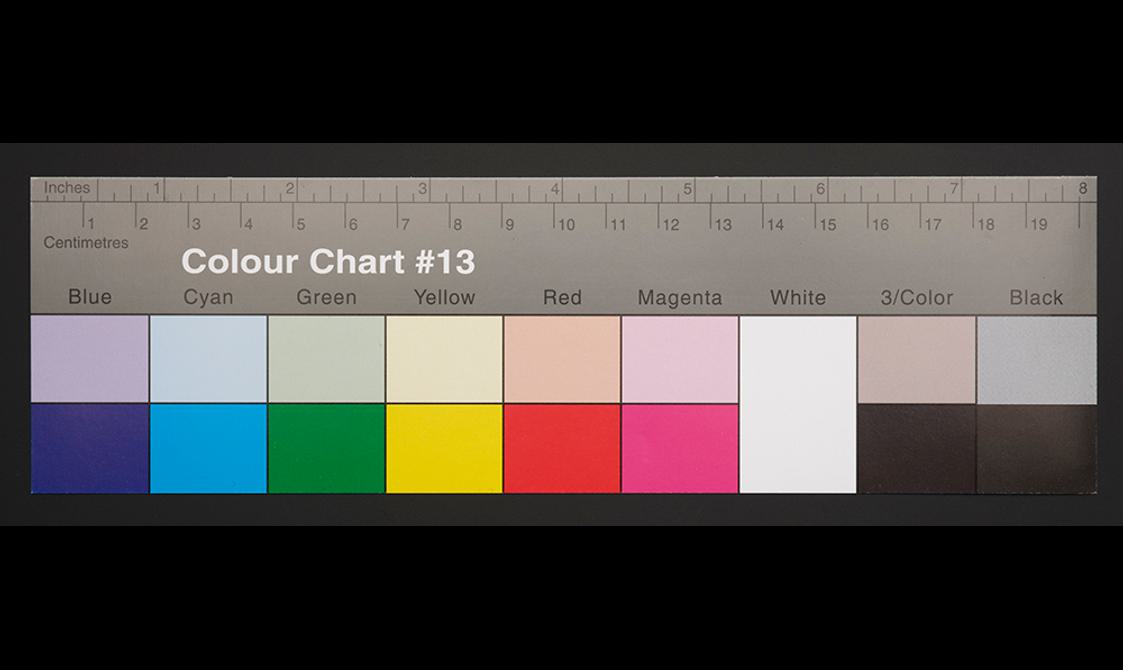
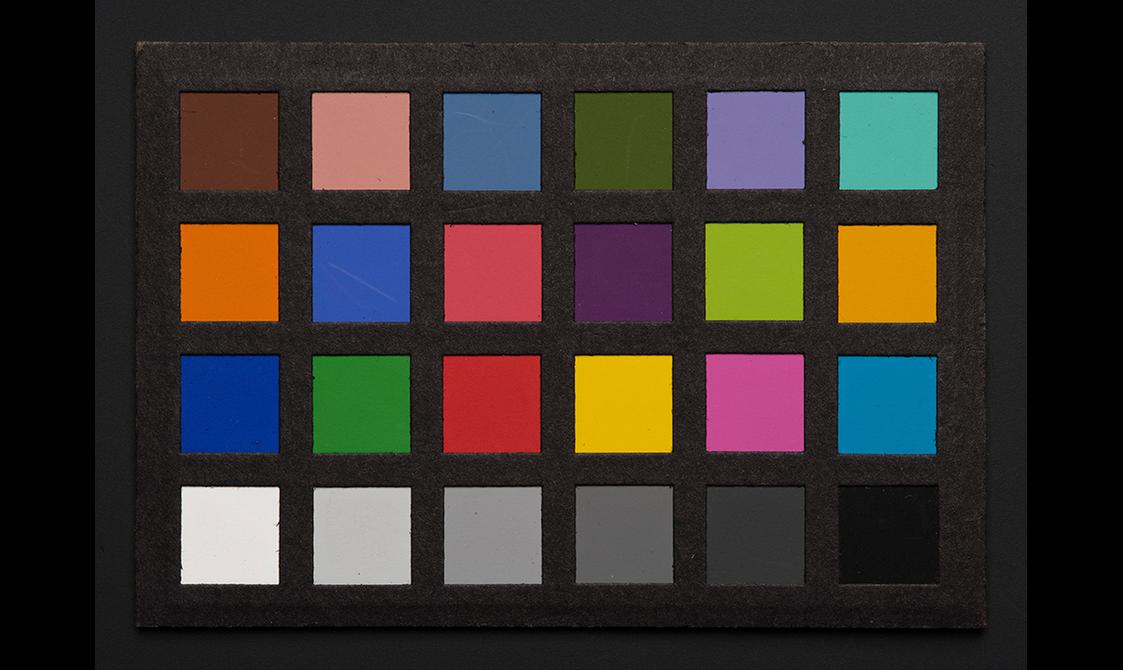
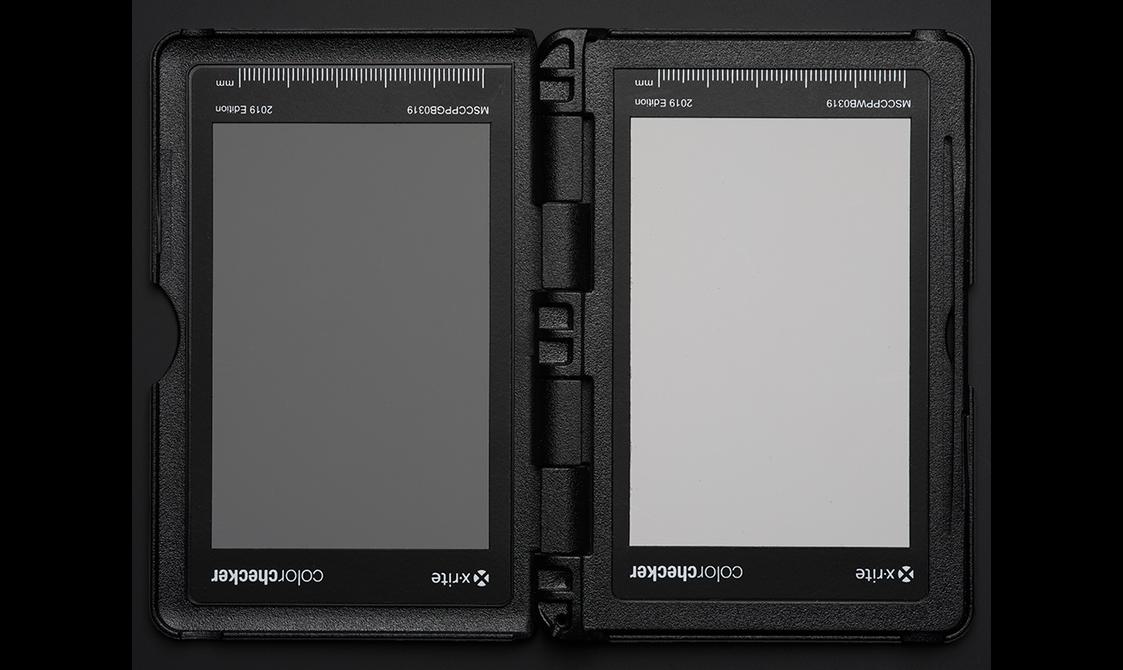
Here are some examples of colour checkers:
Image gallery
Even if you opt to colour balance in camera, it is recommended that you also colour balance with a grey card or colour checker as automatic settings don’t always produce a completely accurate result.
How to use your colour checker:
Place a grey card in front of your object under the lighting you intend to use and take a photo. Repeat this process each time you change your lighting. This reference photo can be used to set your colour balance in Photoshop.
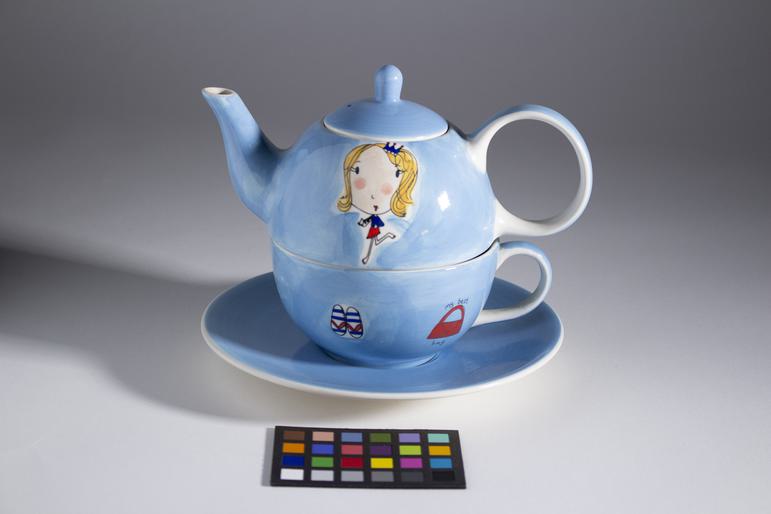
Place the colour checker in front of your object. Make sure it is well lit. In this example, you will use the medium grey squares on the bottom row.
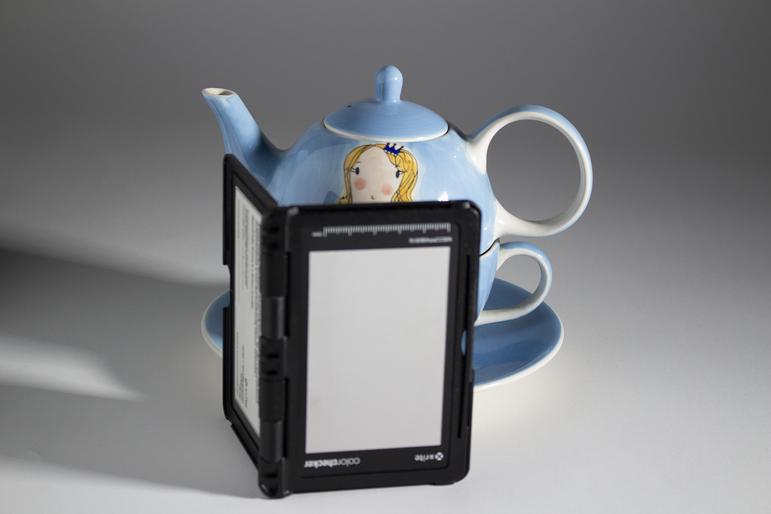
Colour checker passports give you the ability to stand your colour checker in front of your object enabling it to work with all camera angles. This type of colour checker gives a high degree of accuracy.
Zoom lenses
Most kit lenses that come with SLR cameras have a focal length between 18-55 mm.
This gives the user more freedom to zoom in and out with ease. Bear in mind when zooming out that the smaller the number (wider the focal length) the more distorted your image will become. Think of the effect of a fisheye lens as an example.
If you are very close to an object and you zoom your camera lens out, you will see the object distort. Best practice is to zoom the lens in as far as possible and move your camera back until your object is in frame. For large objects, do this as much as the space you are working in will allow before you begin to zoom out.

When you have completed your shoot, you will need to edit and store your images. At National Museums Scotland we use Adobe Creative Cloud and Photoshop Elements software for this.
License for reuse
These training pages are licensed for reuse under a Creative Commons Attribution-NonCommercial-ShareAlike 4.0 International License.
We are delighted for you to reuse, build on and publish the training content in these pages for non-commercial purposes. When you do, we ask that you credit National Museums Scotland and share the content under the same licensing terms.